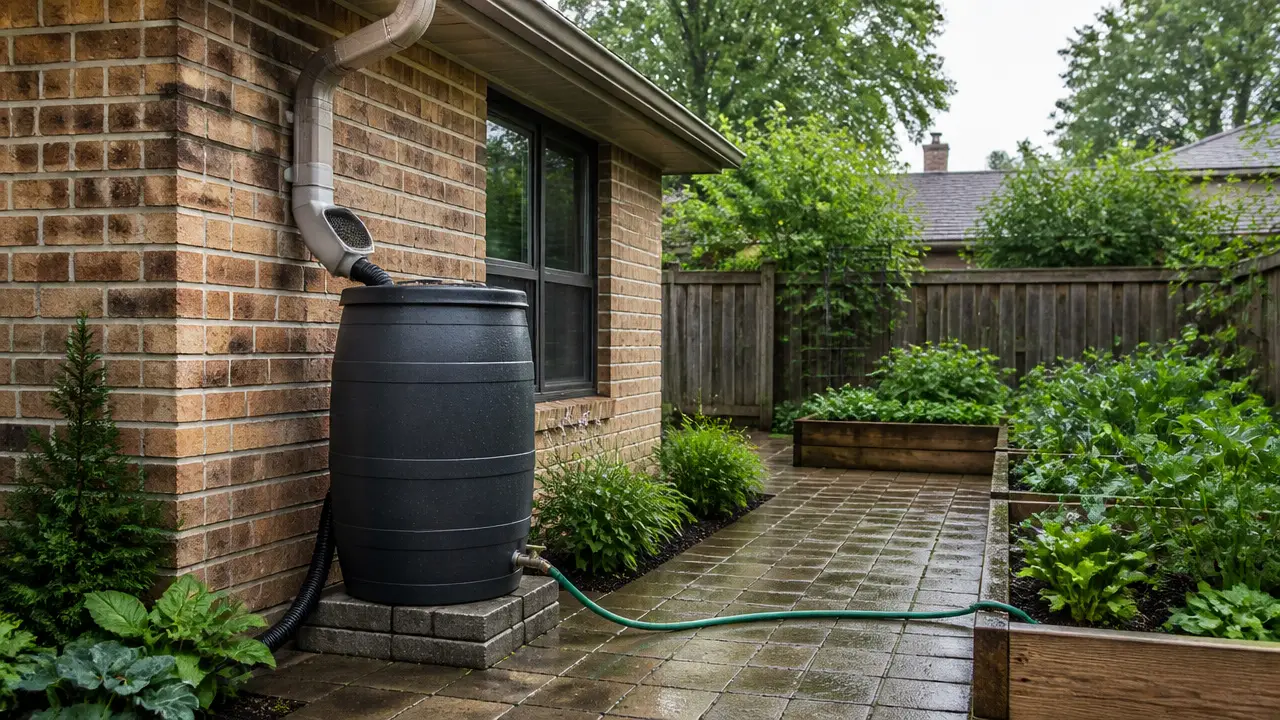
As an affiliate, we may earn a commission from qualifying purchases. We get commissions for purchases made through links on this website from Amazon and other third parties.
Attaching a spigot to a rain barrel is usually a simple DIY job. The most reliable setup uses a bulkhead fitting or a rain-barrel spigot kit made to pass through the barrel wall and seal around the hole.
The main steps are to choose the right location, drill a clean hole, install the sealed fitting, and check for leaks before filling the barrel completely.
What You Need
For a basic installation, you will usually need:
- A rain-barrel spigot or hose bib
- A compatible bulkhead fitting or spigot kit
- Gaskets supplied with the fitting
- A drill
- The correct-size hole saw or drill bit
- A wrench or pliers if required by the fitting
- A marker
- Water for leak testing
A bulkhead fitting is a fitting designed to make a watertight connection through the wall of a tank or barrel. One part passes through the hole, while a gasket and retaining nut help seal and hold it in place.
Do not guess at the hole size. Check the instructions for your specific bulkhead fitting or spigot kit before drilling.
Choose the Spigot Location
Place the spigot low enough to use most of the stored water, but not directly against the bottom of the barrel.
Leaving some space below the outlet has two benefits. Sediment can settle below the spigot, and you have enough room to attach a hose or place a watering can underneath.
Also check the inside of the barrel if you can see it. Avoid drilling where ribs, seams, curves, or other molded features could prevent the gasket from sitting flat.
A smooth, relatively flat section of the barrel wall is easiest to seal.
Make Sure the Spigot Will Fit Your Barrel
Before drilling, confirm three things:
- The fitting can pass through the barrel wall.
- The gasket can sit flat against the barrel.
- You can tighten the fitting using the access available.
Some bulkhead fittings require you to reach inside the barrel to hold or tighten a nut. That is easy on a barrel with a removable lid but may be difficult on a closed-head barrel with only small openings.
For a closed barrel, use a fitting designed for installation with the access you actually have.
How to Install the Spigot
1. Empty the Barrel
Install the spigot while the barrel is empty.
Working on a full barrel is difficult, and drilling into a barrel containing water can create a sudden uncontrolled leak.
If the barrel has already collected roof runoff, empty and clean it as needed before working on it.
2. Mark the Hole
Hold the fitting against the barrel and mark the center of the installation point.
Check again that there is enough clearance for the spigot handle, hose connection, retaining nut, and gasket.
3. Drill the Opening
Use the hole size specified by the fitting manufacturer.
Drill slowly and keep the tool as straight as practical. A clean, round opening gives the gasket a better surface to seal against.
Remove loose plastic and sharp burrs afterward. Avoid making the hole larger unless the fitting instructions require it. An oversized or irregular hole can be difficult to seal.
4. Install the Bulkhead Fitting
Insert the fitting through the barrel wall and position its gasket or gaskets exactly as directed by the fitting instructions.
Gasket placement is not identical for every design, so do not assume every rubber washer belongs on the same side of the barrel.
Tighten the retaining nut enough to compress the gasket and hold the fitting firmly.
Do not keep tightening simply because the barrel wall still flexes. Excessive force can distort a plastic barrel, squeeze a gasket out of position, strip threads, or damage the fitting.
5. Attach the Spigot
If the spigot is a separate threaded part, screw it into the bulkhead fitting using the sealing method specified for those threads.
Some threaded connections use thread-sealing tape or another approved thread sealant. Other fittings seal with washers or gaskets instead. Follow the fitting design rather than adding sealant everywhere.
Position the spigot so its outlet points downward and its handle can move freely.
Test the Connection Before Filling the Barrel
Add only a small amount of water at first.
Let the water level rise above the spigot fitting and inspect the area around:
- The bulkhead fitting
- The gasket
- The retaining nut
- The spigot threads
A dry paper towel held around the connection can make a slow seep easier to notice.
Examine practical steps for making a spigot for a DIY rain barrel to verify service access for sediment removal and odor prevention.
If the fitting remains dry, add more water and check it again.
What to Do If the Spigot Leaks
Do not automatically tighten the fitting as hard as possible.
First empty the water below the fitting and inspect the installation.
Common causes include:
- A gasket that is twisted or pinched
- Dirt under the gasket
- A rough or damaged hole
- An oversized hole
- A fitting installed across a barrel rib or seam
- Incorrect gasket placement
- Loose threaded connections
- A cracked fitting
- A barrel wall that is too curved for the fitting to seal properly
Correct the actual problem and test again.
Adding large amounts of caulk or adhesive around a poorly installed bulkhead fitting is usually not a good substitute for getting the mechanical seal right.
Can You Screw a Spigot Directly Into the Barrel?
Sometimes people drill a small hole and thread a faucet directly into the plastic wall.
That can work with some thick-walled containers and fittings specifically intended for that method, but it is generally less dependable than a proper through-wall fitting.
Many rain barrels have fairly thin plastic walls. The wall may not provide enough thread engagement to support the spigot, especially when a garden hose pulls downward or sideways on it.
A bulkhead fitting spreads the load and provides a dedicated gasket for the seal.
Be Careful With Curved Barrels
A strongly curved barrel can make installation harder.
A flat bulkhead flange pressing against a curved wall may not contact the plastic evenly. Tightening it harder can deform the barrel rather than fix the problem.
Look for the flattest suitable section of the barrel. If your barrel has a molded area intended for a faucet, use it when possible.
Remember That Barrel Height Controls Water Pressure
A spigot does not create pressure by itself.
Water leaving a rain barrel is driven mainly by the height of the water above the outlet. This height is sometimes called head height.
As the barrel empties, the pressure at the spigot falls.
That is usually fine for:
- Filling watering cans
- Slow hand watering
- Some short, low-pressure garden lines
It may not provide enough pressure for equipment designed for household plumbing pressure or for some irrigation devices.
Raising the barrel can increase gravity pressure, but a full rain barrel is extremely heavy. The stand must safely support the barrel and water without tipping, shifting, or collapsing.
Keep the Spigot Easy to Maintain
The outlet may eventually collect sediment or debris.
Keep enough room around the fitting so you can inspect and clean it. If sediment regularly reaches the spigot, improving screening and keeping roof debris out of the barrel may reduce clogging.
A screened inlet also helps keep leaves and insects out of stored rainwater.
Collected roof runoff should be treated as non-potable, meaning not intended for drinking, unless the entire collection and treatment system has been designed, maintained, and appropriately tested for potable use.
Frequently Asked Questions
How high should a spigot be on a rain barrel?
It should normally be several inches above the bottom rather than directly at the lowest point. This leaves space for settled sediment and gives you room to connect a hose or fill a container. The exact height depends on the barrel shape and how you plan to use the water.
Do I need a bulkhead fitting for a rain-barrel spigot?
It is usually the better choice. A bulkhead fitting passes through the barrel wall and uses a gasket to make a secure seal. It also supports the spigot better than simply threading a faucet into thin barrel plastic.
What size hole should I drill?
Use the hole size specified for your particular bulkhead fitting or spigot kit. Nominal pipe size does not necessarily equal the required hole diameter, so measure or check the fitting instructions before drilling.
Should I use silicone around the spigot?
A properly installed bulkhead fitting normally depends on its gasket for the main seal. Silicone should not be used to compensate for a damaged hole, incorrectly positioned gasket, or incompatible fitting. Follow the instructions supplied with your fitting if additional sealant is recommended.
Can I attach a garden hose to a rain-barrel spigot?
Yes, if the spigot has compatible garden-hose threads. Remember that gravity-fed barrel pressure is much lower than normal household water pressure, especially as the water level falls.
Why does my rain-barrel spigot drip around the barrel wall?
The gasket may be dirty, twisted, incorrectly positioned, or sitting against a curved or uneven part of the barrel. The hole may also be too large or damaged. Drain the water below the fitting before taking the connection apart and inspecting it.
Can I install a spigot on a barrel with no removable lid?
Yes, but you need a fitting that can be installed through the openings available on that barrel. Standard bulkhead fittings may require inside access to install or tighten a retaining nut.