As an affiliate, we may earn a commission from qualifying purchases. We get commissions for purchases made through links on this website from Amazon and other third parties.
Sludge in a water tank is usually a mix of fine dirt, roof dust, plant material, pollen, insect debris, and other particles that settle on the bottom over time. The safest way to remove it is to stop new water from entering, drain or pump down the tank, remove the settled material without entering the tank, rinse the bottom, and return the system to service only after the tank and connected equipment are clean.
For a small rain barrel or IBC tote, this can often be a DIY job. A large cistern may require professional cleaning, especially if reaching the bottom would require a person to climb inside.
Why Sludge Builds Up in a Water Tank
Even a well-screened rainwater system lets some fine material through.
Dust can wash from the roof. Pollen and tiny bits of leaves can pass through screens. Organic matter can break down after reaching the tank. Fine particles may remain suspended during a storm and then slowly settle.
Over time, this material forms a layer on the bottom.
A small amount of settled sediment does not always mean the entire tank needs immediate cleaning. Cleaning becomes more useful when sludge starts to:
- Reach the outlet or pump intake
- Reduce usable tank capacity
- Clog filters or irrigation equipment
- Create unpleasant odors
- Get stirred into the water whenever the tank refills
- Contain significant organic debris
- Make routine tank maintenance difficult
If sludge returns very quickly after cleaning, look for the source instead of simply cleaning the tank more often.
First, Make the Tank Safe to Work Around
Before removing sludge, isolate the tank as much as practical.
Turn off pumps connected to the tank. Close valves that could unexpectedly send water into it. Divert incoming rainwater if another storm could occur while you are working.
Disconnect electrical equipment before handling pumps, floats, or other components unless the equipment must remain powered for controlled pumping. Follow the equipment manufacturer's instructions when electricity is used around water.
Also check where the drained water will go. A large cistern can release a substantial amount of water. Do not discharge it where it could undermine a foundation, flood a neighboring property, wash soil away, or enter an area where the water may cause contamination problems.
Most importantly, do not climb inside a large water tank just because it is empty.
Storage tanks can qualify as confined spaces. They can have difficult exits, slippery surfaces, poor ventilation, atmospheric hazards, and the risk of unexpected water entering the tank. OSHA advises doing as much tank work as possible without entry and treating confined-space entry as a job requiring proper hazard controls.
For a large cistern that cannot be cleaned from outside, use a qualified tank-cleaning service.
How to Remove Sludge From a Water Tank
The basic process is similar for rain barrels, IBC totes, and larger storage tanks, although the equipment you use will depend on tank size and access.
1. Stop Dirty Water From Entering the Tank
Divert the downspout or close the tank inlet before cleaning.
Otherwise, a rain shower can send a new load of roof debris into the tank while you are working.
This is also a good time to clean:
- Gutters
- Leaf screens
- Inlet baskets
- Downspout screens
- First-flush devices
A first-flush device diverts some of the first roof runoff from a rainfall event. That early runoff often carries a higher load of dirt and debris from the catchment surface.
Cleaning the tank without cleaning the collection system can cause the sludge to return quickly.
2. Turn Off the Pump and Isolate Connected Plumbing
If the tank feeds a pump, irrigation system, toilet supply, cabin plumbing, or treatment system, turn the equipment off before disturbing the sediment.
Close valves where appropriate.
You do not want concentrated sludge being pulled through:
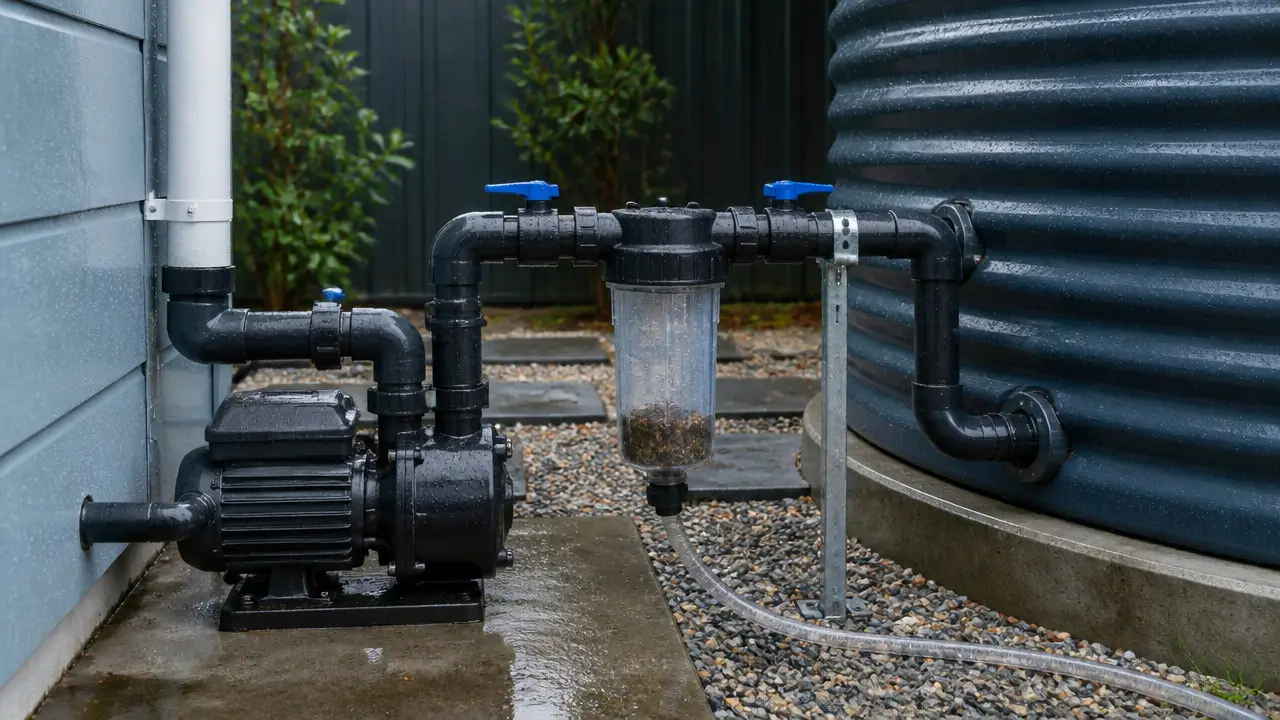
- Pump strainers
- Cartridge filters
- UV equipment
- Irrigation valves
- Sprinklers
- Small tubing or emitters
If possible, remove or protect the pump intake before cleaning.
3. Remove Most of the Water Without Stirring the Bottom
Drain or pump the tank down slowly.
The goal is to leave the sludge settled for as long as possible. If you aggressively stir the bottom first, the sediment becomes suspended in the remaining water and is harder to remove.
A tank with a properly positioned bottom drain or clean-out connection may be easy to empty.
Otherwise, water can often be removed with a suitable transfer pump or siphon.
Keep the suction point above the sludge during the first part of draining. Once most of the clearer water has been removed, you can begin working on the sediment layer.
4. Remove the Concentrated Sludge
The best method depends on the tank.
Small rain barrels
A small barrel may be light enough to drain completely and carefully rinse from the access opening.
Remove the remaining sediment through the drain if possible. If the opening is large enough, a long-handled brush can help loosen material while you remain outside the barrel.
IBC totes
IBC totes are more difficult because sediment can collect across the broad bottom surface and around the outlet.
After draining most of the water, use the accessible opening to direct rinse water toward the outlet.
A suitable wet-pickup vacuum may also remove concentrated sediment through the top opening, provided the vacuum is designed for wet use and is operated according to its electrical safety instructions. Keep electrical connections protected from water.
Do not climb through an IBC tote opening.
Large cisterns
For a large cistern, sludge is often removed using pumping or suction equipment from outside the tank.
A sludge pump, suction hose, or professional tank-cleaning system may be able to remove the material without entry.
If the tank's design requires a person to enter for complete cleaning, that is where normal homeowner DIY cleaning should stop.
5. Rinse the Bottom
Once the heavy sludge has been removed, rinse the accessible tank surfaces with clean water.
Work from the cleaner areas toward the drain or suction point.
The goal is to move loose sediment out of the tank rather than repeatedly stirring it into a large volume of water.
Avoid using household detergents unless they are specifically appropriate for the tank and its intended water use. Soap residue can be difficult to rinse from a large storage tank.
Also be careful with pressure washing. High pressure can damage some tank surfaces, fittings, coatings, seals, or internal equipment.
6. Remove the Dirty Rinse Water
Pump or drain the rinse water out.
If sediment remains, repeat the rinse-and-remove process rather than filling the entire tank again.
Pay particular attention to:
- Corners
- Low spots
- The area around the outlet
- Pump intake locations
- Internal supports or ribs that trap sediment
You may not need the tank to look perfectly new. The important goal is removing accumulated sludge, loose organic matter, and material that could interfere with the system.
Does the Tank Need to Be Disinfected?
Cleaning and disinfection are related, but they are not the same thing.
Cleaning removes dirt and sludge. Disinfection is intended to reduce microorganisms.
A garden rainwater tank used only for non-potable irrigation does not automatically need to be treated like a drinking-water cistern after every sediment cleaning.
A tank supplying water intended for drinking requires much more care.
The CDC recommends cleaning and disinfecting cisterns after contamination events such as floods or heavy rain when contamination has entered the system. Its cistern guidance includes physically removing debris, scrubbing surfaces with an appropriate disinfecting solution, rinsing, draining, and refilling with safe water.
Do not assume that removing sludge, adding bleach, installing a filter, or running water through a UV unit makes collected rainwater safe to drink.
Regarding practical steps for removing sludge from the rainwater tank, compare the storage-vessel configuration for the installation area.
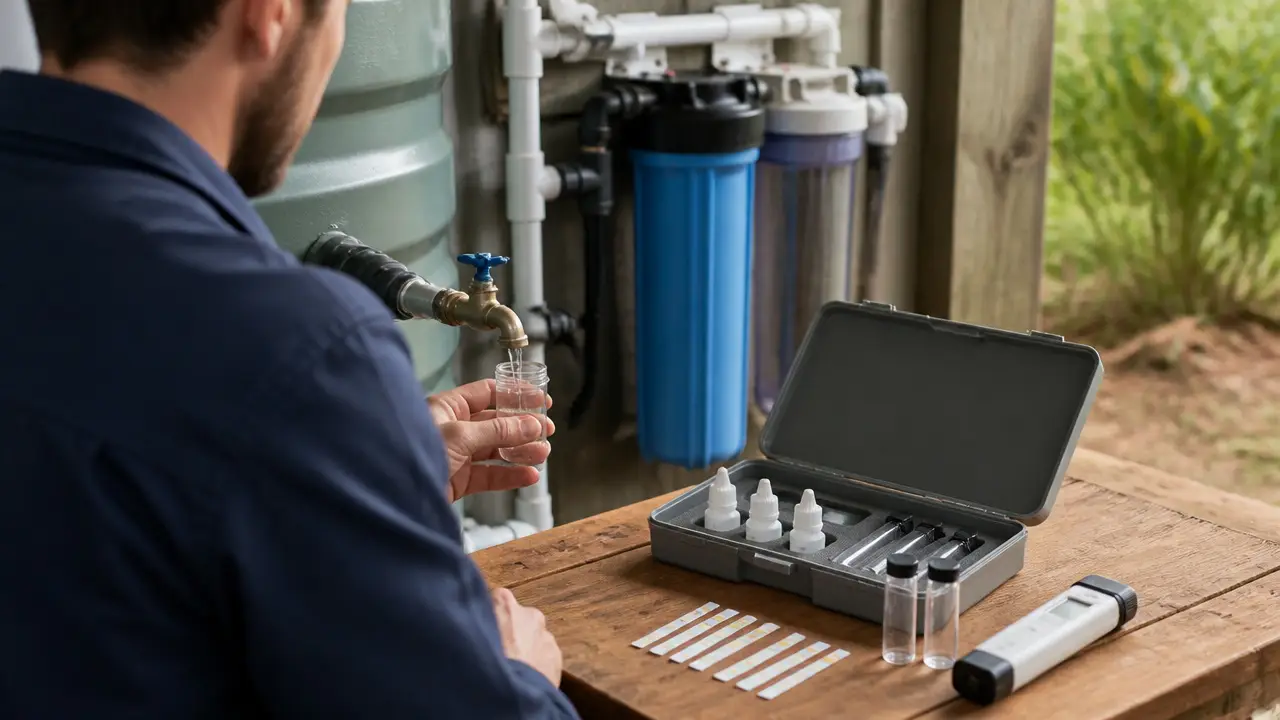
Potable use—that means water intended to be safe for drinking—needs a whole-system approach. Collection surfaces, storage, prefiltration, treatment, plumbing, maintenance, current laboratory testing, and applicable local requirements all matter.
If the tank supplies drinking water and you are unsure how to clean or disinfect it safely, use guidance from your local health authority or a qualified water-treatment professional.
Clean the Tank Outlet and Pump Intake
Removing the sludge but ignoring the outlet can leave a concentrated pocket of debris in the system.
Inspect accessible components such as:
- Tank outlet fittings
- Screens
- Pump strainers
- Suction hoses
- Floating intakes
- Foot valves
- Prefilters
A floating intake draws water from below the surface instead of directly from the tank bottom. It can reduce the amount of settled sediment reaching a pump.
If your system draws directly from the lowest point in the tank, it may continually pull sludge into filters and irrigation equipment.
An outlet positioned slightly above the bottom can leave a sediment zone beneath the usable-water outlet. Whether this arrangement is practical depends on the tank design and how you need to use its capacity.
Check the Tank Before Refilling
Before returning the tank to normal operation, inspect everything you can safely see from outside.
Look for:
- Cracked fittings
- Loose bulkhead fittings
- Damaged gaskets
- Blocked overflow screens
- Algae growth
- Insect entry points
- Damaged inlet screens
- Signs that outside soil or runoff is entering the tank
A bulkhead fitting is a fitting that passes through the tank wall and creates a sealed connection for a pipe, valve, or hose.
Cleaning sometimes exposes small leaks that were hidden by sediment.
Refill carefully and inspect connections while the water level rises.
How to Keep Sludge From Coming Back Quickly
You cannot prevent every fine particle from entering a rainwater tank, but good pretreatment can greatly slow sludge buildup.
Keep the roof and gutters reasonably clean
Leaves and plant material that sit in gutters eventually break into smaller pieces.
Keeping the catchment path clear reduces the amount reaching the tank.
Use an inlet screen
A screen at the tank inlet stops larger debris and helps keep insects and animals out.
Clean it regularly. A blocked screen can redirect water where you do not want it.
Maintain the first-flush system
If your system has a first-flush diverter, make sure it drains and resets correctly.
A clogged first-flush device may stop doing its job.
Avoid directing incoming water straight at the sediment
A strong inlet stream hitting the tank floor can stir settled material every time it rains.
Some systems use a calming inlet that reduces turbulence near the bottom.
This does not eliminate sediment, but it may help keep settled material from constantly returning to the water column.
Keep the water outlet away from the sludge layer
Where the tank design allows it, avoid placing the normal pump intake directly in accumulated bottom sediment.
This reduces clogging and extends the time between filter cleaning.
Inspect before sludge becomes a major problem
You do not need to completely drain a tank on a fixed calendar if it remains clean.
Instead, inspect it periodically and watch for increasing sediment depth, cloudy water after refilling, blocked filters, reduced pump flow, or obvious organic buildup.
When You May Be Able to Remove Sludge Without Emptying the Tank
A full drain wastes stored water, so sometimes it makes sense to remove sediment while leaving much of the tank full.
This can work when the sludge is concentrated and accessible.
A suction hose can sometimes be lowered to the bottom and moved slowly across the sediment layer while the clearer water remains above it.
This works somewhat like vacuuming the bottom of a pool.
The method is most useful when:
- The tank has a large enough access opening
- You can reach the sediment from outside
- The sludge layer is easy to locate
- Suitable pumping or suction equipment is available
Move the suction point slowly. Moving it aggressively can suspend the sediment throughout the tank.
This technique is less suitable when the tank contains large pieces of debris, heavy biological growth, contamination, or material stuck to the walls.
What to Do With the Sludge
Treat the removed material according to what may have entered the tank.
Sediment from a normal roof-fed garden-water tank may contain soil, pollen, decomposed leaves, bird or animal waste, roofing debris, and airborne contaminants.
Do not assume it is clean compost.
Avoid placing questionable sludge near wells, streams, storm drains, vegetable harvesting areas, or other sensitive locations.
If the tank may have received floodwater, chemicals, fuel, pesticides, sewage, or other unusual contamination, do not spread the sludge around the property. Contact the appropriate local authority for disposal guidance.
When to Call a Professional
Professional tank cleaning is the better choice when:
- Someone would need to enter the tank
- The tank is very large
- Access is through a small hatch
- The tank is underground
- Electrical or pressure equipment must be dismantled
- Heavy biological growth is present
- The tank has been contaminated by floodwater or sewage
- Chemical contamination is possible
- The tank supplies drinking water and the sanitation procedure is unclear
- Structural damage is visible
Do not treat an empty tank as a safe workspace. Tanks can have serious physical and atmospheric hazards even when no water remains inside.
For most homeowners, the practical dividing line is simple: clean from outside the tank whenever possible. If proper cleaning requires entering it, bring in someone equipped and trained for tank entry.
Frequently Asked Questions
What is the easiest way to remove sludge from a rainwater tank?
Drain or pump down most of the water without disturbing the bottom. Then use the tank drain, a suction hose, suitable pump, or wet-pickup equipment to remove the concentrated sediment from outside the tank. Rinse the bottom and remove the dirty rinse water before refilling.
Do I need to empty the whole tank to remove sludge?
Not always. If the sediment can be reached through an access opening, it may be possible to suction sludge from the bottom while leaving much of the water in place. A full drain is more useful when the tank needs a thorough inspection, rinse, or cleaning.
How often should a water tank be cleaned?
There is no single cleaning interval that fits every tank. Inspect the tank periodically and clean when sediment becomes significant, starts reaching the outlet, causes clogged filters, produces odors, or interferes with water quality or system operation.
Why does my tank get dirty again soon after cleaning?
Check the roof, gutters, inlet screen, and first-flush device. Fast sludge buildup often means too much material is entering the tank. Turbulent inlet water can also keep settled sediment moving.
Can I use a pressure washer inside a water tank?
Only when the tank manufacturer and tank material allow it, and only from a safe position. High-pressure water can damage coatings, seals, fittings, or some plastic surfaces. For many tanks, controlled rinsing and brushing are safer.
Is water safe to drink after the sludge is removed?
Not necessarily. Removing visible sediment does not establish that water is microbiologically or chemically safe. Drinking-water use requires suitable collection, storage, treatment, maintenance, current laboratory testing, and compliance with applicable local requirements.
Can I climb into an empty tank to scrub it?
Do not enter a large storage tank as a routine DIY cleaning method. Tanks can be confined spaces with difficult exits, slippery surfaces, poor ventilation, and atmospheric hazards. Cleaning from outside is the safer approach; use qualified professionals when entry is required.