As an affiliate, we may earn a commission from qualifying purchases. We get commissions for purchases made through links on this website from Amazon and other third parties.
The easiest water timer to use is usually a simple battery-powered hose-end timer with a large screen, a few buttons, and one watering schedule.
For most gardens, you do not need Wi-Fi, an app, or many watering zones. A basic timer that screws onto an outdoor faucet is often easier to set up and maintain.
The best choice depends on what you are watering and how complicated your system is.
What Makes a Water Timer Easy to Use?
A simple water timer should let you set three basic things:
- What time watering starts
- How long watering runs
- How often watering happens
For example, you might set the timer to start at 6:00 a.m., run for 20 minutes, and water every other day.
An easy timer should also have a manual watering button. This lets you turn the water on without changing your regular schedule.
Look for controls that are clearly labeled. A large dial or separate buttons for start time, run time, and watering frequency are usually easier to understand than menus with many settings.
The Simplest Type: Hose-End Water Timer
For one garden hose, drip line, soaker hose, or small irrigation system, a single-outlet hose timer is usually the easiest option.
It installs between the faucet and the hose:
Faucet → water timer → hose or irrigation line
Most models run on batteries. When the programmed watering time arrives, a valve inside the timer opens. It closes again after the selected run time.
This setup works well for:
- Raised beds
- Vegetable gardens
- Flower beds
- Small lawns
- Soaker hoses
- Basic drip irrigation
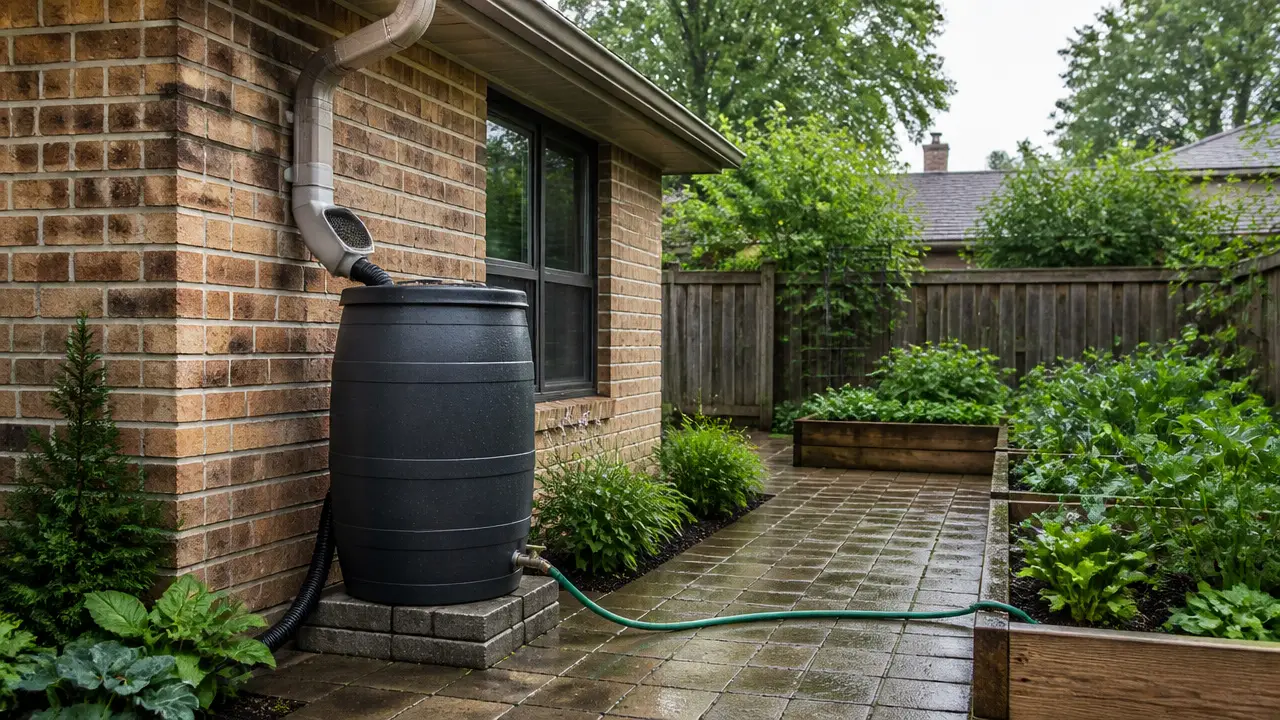
- Rain-barrel systems with enough pressure, if the timer is designed to work at that pressure
The last point matters. Many hose timers need more water pressure than a gravity-fed rain barrel can provide.
Choose a Timer With a Dial for the Easiest Setup
Timers with a large selector dial are often easier for beginners than timers that depend on several menu screens.
A typical dial might include settings such as:
- Clock
- Start time
- Run time
- Watering frequency
- Auto
- Off
You turn the dial to each setting, make the adjustment, and then return it to Auto.
This design makes it easier to see where you are in the setup process.
Digital timers with only two or three buttons can also be simple, but repeated button presses may be less intuitive.
One Outlet Is Easier Than Multiple Zones
If you only need to water one area, choose a single-outlet timer.
A two-zone or four-zone timer can control several hoses separately, but it also requires more programming.
For example, a multi-zone timer may ask you to set separate:
- Start times
- Run times
- Watering days
- Programs
That extra control is useful for larger gardens, but it adds complexity.
If one schedule can handle everything you are watering, a single outlet is simpler.
Skip Wi-Fi Unless You Actually Need It
Smart water timers can be convenient, but they are not always the easiest choice.
A Wi-Fi or Bluetooth timer may require:
- Installing an app
- Creating an account
- Pairing the timer with a phone
- Connecting to a home network
- Adjusting app permissions
- Troubleshooting connection problems
Some smart timers can use weather information to adjust watering. That may be useful for larger irrigation systems.
For a small garden, however, a timer with buttons on the unit may be much easier.
You can walk outside, change the setting, and finish the job without using a phone.
Look for a Manual Watering Button
Manual watering is one of the most useful features on a garden timer.
Suppose you normally water every two days, but newly planted seedlings need extra water. A manual mode lets you run the system for a few minutes without erasing your normal schedule.
A good manual mode should let you:
- Press a button.
- Select a run time.
- Start watering.
- Return automatically to the normal program afterward.
Avoid timers that make you reprogram the main schedule every time you want extra water.
A Rain Delay Makes the Timer Easier to Live With
A rain-delay function temporarily pauses automatic watering.
For example, after a heavy rain, you may pause watering for one or two days. When the delay ends, the normal schedule resumes automatically.
Without this feature, you may need to turn the timer off and remember to turn it back on later.
Rain delay does not measure how wet your soil actually is unless the timer is connected to a suitable sensor or smart system. It is simply a convenient way to skip watering.
Make Sure the Connections Fit
Most basic garden timers are designed to connect directly to a standard outdoor hose faucet.
A common layout is:
Faucet → timer → pressure regulator → filter → drip tubing
The exact order can vary with the equipment, so follow the instructions for your irrigation components.
If you use drip irrigation, check whether the system requires a pressure regulator. Household water pressure can be higher than many drip systems are designed to handle.
Also check connection sizes before buying fittings or adapters. Avoid forcing mismatched threads together because this can cause leaks or damage the timer.
Water Pressure Matters
A faucet-connected timer normally uses household water pressure to open and close its internal valve.
That means a timer that works perfectly on a house faucet may not work well on a rain barrel.
A rain barrel produces pressure from head height, which means the vertical distance between the water surface and the outlet.
More height generally creates more pressure.
However, gravity systems often operate at much lower pressure than household plumbing.
If you plan to place a timer on:
- A rain barrel
- An IBC tote
- A low cistern outlet
- Another gravity-fed tank
check the timer's required operating pressure.
Explore key facts about a good low pressure water timer for a rain barrel to evaluate component ratings under sustained system demand.
Some timers are specifically designed for low-pressure or zero-pressure systems. A standard hose timer should not be assumed to work with gravity flow.
Keep the Programming Simple
Many timers allow several start times per day.
That does not mean you need to use them.
For most garden systems, start with one watering period.
For example:
Start: 6:00 a.m. Run: 25 minutes Frequency: Every two days
Then watch how the soil and plants respond.
You can adjust the schedule if water is running off, plants are drying between cycles, or the soil stays wet for too long.
The timer controls when water flows. It cannot tell you by itself whether the plants are receiving the right amount.
Consider Flow Rate
Flow rate means how much water moves through the system during a certain amount of time. It is commonly measured in gallons per minute.
A timer can become a restriction if its internal passage is much smaller than the plumbing around it.
For a small drip system, this may not matter much.
For a large irrigation system with many emitters or sprinklers, available flow becomes more important.
If several watering devices operate at once, make sure the faucet, timer, tubing, and irrigation components can supply enough water.
Battery Replacement Should Be Simple
Most basic hose timers use replaceable batteries.
Look for a battery compartment that can be opened without removing the entire timer from the faucet.
Check the batteries regularly during the watering season. A weak battery may cause some timers to stop operating correctly.
Do not assume every timer fails in the same way when the battery dies. Some valves may remain closed, while designs and behavior vary.
Replace batteries according to the manufacturer's instructions.
Protect the Timer From Freezing
A water timer should generally not be left full of water where it can freeze unless the manufacturer specifically says the unit can handle those conditions.
Water trapped inside the valve can expand when frozen and damage the timer.
Before freezing weather:
- Shut off the water supply.
- Disconnect the timer if appropriate.
- Drain trapped water.
- Store the unit according to its instructions.
Also drain hoses, filters, regulators, and other irrigation components that could be damaged by freezing.
What Timer Is Best for a Rain Barrel?
For a rain barrel, the easiest timer is usually one specifically designed for gravity-fed, low-pressure water systems.
Do not assume an ordinary faucet timer will work.
A barrel sitting only a short distance above the garden may have very little pressure. A timer that requires household pressure may fail to open properly or may reduce the flow too much.
A gravity-fed system may look like:
Rain barrel → low-pressure timer → filter if needed → irrigation tubing
Make sure the irrigation system itself can also operate at low pressure. Some drip emitters and watering devices need more pressure than a basic rain barrel can provide.
When a More Advanced Timer Makes Sense
A simple hose timer is not always enough.
Consider a multi-zone or irrigation controller when you have several areas that need different schedules.
For example:
- Raised beds may need one watering schedule.
- Trees may need another.
- Lawn sprinklers may need much higher flow.
- Greenhouse lines may need shorter, more frequent cycles.
At that point, the convenience of separate zones can outweigh the extra programming.
For household irrigation connected to permanent plumbing, electrical controls, pumps, or complex valve systems, installation may also move beyond a simple hose-end DIY project.
The Easiest Choice for Most Gardens
For a basic garden, the easiest water timer is usually a single-outlet, battery-powered hose timer with a large display or dial, manual watering, and rain delay.
Keep the feature list short.
You probably do not need a smart controller if your goal is simply to turn a garden hose or drip line on automatically once a day or every few days.
If you use stored rainwater instead of a pressurized faucet, make pressure compatibility your first check. Choose a timer designed to work with the pressure your system can actually provide.
Frequently Asked Questions
Are digital or mechanical water timers easier to use?
Digital timers usually offer more control over start time, watering duration, and frequency. Mechanical timers can be simpler when you only want water to shut off after a certain number of minutes. For automatic watering on a repeating schedule, a basic digital hose timer is often easier.
Do I need Wi-Fi for an automatic water timer?
No. Many battery-powered hose timers operate completely on their own. Wi-Fi is mainly useful when you want remote control, app features, or weather-based adjustments.
Can I put a water timer on a rain barrel?
Yes, but the timer must be suitable for the low water pressure produced by a gravity-fed barrel. Many standard hose timers are designed for pressurized faucets and may not operate correctly on a rain barrel.
Does a water timer reduce water pressure?
A timer creates some restriction because water must pass through its internal valve. Whether the reduction matters depends on the timer, available pressure, required flow, and irrigation system.
Should the timer go before or after a drip irrigation pressure regulator?
The correct arrangement depends on the equipment. A common faucet-fed setup places the timer before the pressure regulator, but follow the connection instructions for the timer and irrigation components you are using.
What happens if the batteries die?
The behavior depends on the timer design. Many timers stop automatic watering when battery power becomes too low. Check the manufacturer's instructions and replace batteries before they become unreliable.
Can I leave a hose timer outside during winter?
Not necessarily. Freezing water can damage valves and housings. In freezing climates, disconnect, drain, and store the timer according to the manufacturer's winterizing instructions.