As an affiliate, we may earn a commission from qualifying purchases. We get commissions for purchases made through links on this website from Amazon and other third parties.
A Sediment Buster is a tool used to loosen sediment at the bottom of a tank-style water heater so the debris can leave through the drain valve. The commercial Sediment Buster® does this by sending short bursts of compressed gas into the drain opening. The design is covered by an active U.S. patent, and the manufacturer pressure-tests the finished tool.
You can make a simple DIY setup for flushing sediment from a water heater. But building a homemade compressed-air version is not a good beginner plumbing project. A leaking fitting, trapped pressure, or hot water can cause serious injury.
A safer DIY approach is to build a water-only sediment flushing setup. It uses the heater's drain valve, a suitable hose, and controlled water flow to help move loose sediment out of the tank.
What a Sediment Buster Does
Sediment slowly settles at the bottom of many tank water heaters. It may include:
- Sand and dirt from the water supply
- Calcium and magnesium deposits from hard water
- Small pieces of mineral scale
- Rust or corrosion debris
Heavy buildup can reduce heat transfer and sometimes cause popping or rumbling sounds.
A normal flush depends on water flowing out of the drain valve. The Sediment Buster adds agitation. Its patented design connects to the drain outlet and introduces gas into the tank to disturb sediment near that opening.
The basic idea is simple. The pressure control is not.
Why You Should Not Build a Homemade Compressed-Air Sediment Buster
It may be tempting to connect a tee, air fitting, ball valve, and compressor to the water-heater drain.
That creates several problems.
A water heater is a pressure vessel. Fittings must handle the temperature and pressure involved. The tank also needs a safe path for pressure to escape.
A homemade assembly can fail because of:
- Incorrect pipe threads
- Fittings not rated for hot water
- Weak plastic parts
- Excess air pressure
- A closed or blocked vent path
- A plugged drain valve
- Hot water trapped behind the fitting
- A hose or connection coming loose
The commercial tool's instructions include specific operating conditions and venting requirements. The manufacturer also says each unit is pressure-tested.
For that reason, do not improvise a compressed-air or CO2 injection fitting unless the complete setup has been designed and rated for that use by a qualified professional.
A Safer DIY Sediment-Flushing Setup
You can still make a useful flushing setup without compressed gas.
The goal is to give sediment an open path out of the heater while using normal water flow to disturb loose material.
What You Need
Your exact connections depend on the water heater, so check the owner's manual first.
A basic setup may include:
- A drain hose that fits the heater's drain connection
- A hose rated for the water temperature it will carry
- A safe place for the discharged water
- A bucket or open container for checking sediment
- Basic hand tools if required by the heater manufacturer
- Work gloves and eye protection
Do not use a sealed bucket or closed container. The discharge must remain open.
If you want to see what is leaving the tank, let a small amount of discharge enter a light-colored bucket. You can then check for sand, mineral flakes, or rust particles.
How to Use the DIY Setup
Always follow the flushing instructions for your exact heater. Gas and electric water heaters have different shutdown procedures.
1. Read the Water Heater Manual
Find the manufacturer's section on draining or flushing.
Pay attention to instructions for:
- Turning off electricity or gas
- Closing the cold-water inlet
- Opening hot-water faucets
- Using the temperature and pressure relief valve
- Refilling the heater
- Restarting the heater
Do not assume the procedure for another heater applies to yours.
2. Turn Off the Heat Source
Shut down the heater as directed by its manufacturer.
For an electric water heater, restoring power before the tank is completely full can damage the heating elements.
For a gas heater, follow the manufacturer's shutdown and restart procedure rather than changing gas controls at random.
3. Let the Water Cool
Water inside a heater can be hot enough to cause burns.
Allow the tank to cool before disconnecting fittings or handling drain water. Keep people and pets away from the discharge area.
4. Connect the Drain Hose
Attach the hose securely to the drain valve.
Run the other end to a location that can safely accept the water. Avoid places where hot water could damage plants, flooring, landscaping, septic components, or drainage equipment.
Keep the hose as straight as practical. Sharp bends can trap larger pieces of sediment.
5. Vent the Tank as Directed
A tank needs a way for air to enter as water leaves.
Many flushing procedures use an open hot-water faucet for this purpose. Some manufacturers give additional directions involving other valves.
Follow the manual for your heater rather than improvising a vent.
6. Open the Drain Valve
Open it slowly.
Water should begin moving through the hose.
If there is little or no flow, sediment may be blocking the valve.
Do not respond by connecting a compressor and forcing air into the blocked drain.
7. Use Cold Water to Agitate Loose Sediment
For flushing sediment from a water tank, first understand overflow capacity and ventilation for long-term storage.
If your manufacturer's flushing procedure allows it, the cold-water supply can help stir the bottom of the tank.
With the drain hose flowing, briefly opening and closing the cold-water inlet can create movement inside the tank. This may carry more loose sediment toward the drain.
You may need several rinse cycles before the water improves.
This method will not always remove thick, hardened mineral scale. It works best on sediment that can still move with water.
8. Watch the Discharge
Check what comes through the hose.
You may see:
- Fine sand
- White or tan mineral particles
- Small flakes
- Cloudy water
Continue according to the manufacturer's flushing procedure.
Do not judge the condition of the heater only by water color. Rust-colored discharge, continuing leaks, or large pieces of corrosion can point to problems that need closer inspection.
9. Refill the Heater Completely
When flushing is finished:
- Close the drain valve.
- Restore the cold-water supply.
- Keep the required hot-water faucet open while air leaves the system.
- Wait for a steady stream of water.
- Check the drain valve and nearby fittings for leaks.
- Follow the manufacturer's restart procedure.
Do not energize an electric water heater until you are sure the tank is full.
What If the Drain Valve Is Completely Clogged?
A clogged drain valve is where homeowners are most likely to try risky fixes.
Avoid pushing screwdrivers, wire, drill bits, or other sharp objects deep into the heater. You could damage the valve, internal lining, or other parts.
Also avoid forcing compressed air into the heater through a homemade adapter.
If normal flushing will not establish flow, a plumber may need to remove or replace the drain valve.
Some water heaters use fairly restrictive factory drain valves. A plumber may recommend a larger full-port valve during service. A full-port valve has a larger opening through the center, so chunks of sediment can pass through more easily.
Replacing the drain valve requires draining and safely isolating the heater. If the existing valve is plastic, badly corroded, leaking, or difficult to remove, professional replacement is the safer choice.
When a Normal Flush Is Enough
Routine flushing works best before a thick layer of sediment forms.
Rheem currently recommends flushing many traditional tank water heaters about once a year, with more frequent maintenance possible where hard water causes faster mineral buildup. Your own heater's manual should take priority.
Regular flushing can help prevent the drain opening from becoming packed with debris.
It is much easier to remove a small amount of loose sediment every year than to clear years of hardened scale from an old tank.
When to Stop and Call a Plumber
Do not keep experimenting if you find:
- A drain valve that will not open
- A valve that begins leaking after operation
- Heavy corrosion around the tank
- Water leaking from the tank itself
- A badly clogged drain
- Large amounts of rust
- Damaged gas components
- Damaged electrical wiring
- A temperature and pressure relief valve that does not operate normally
- Heavy sediment in an older heater that has rarely been serviced
Rheem also recommends professional help when a drain valve will not operate, corrosion is present, or an older water heater has heavy sediment buildup.
A tank that has started leaking through its steel shell is normally a replacement issue, not a flushing problem.
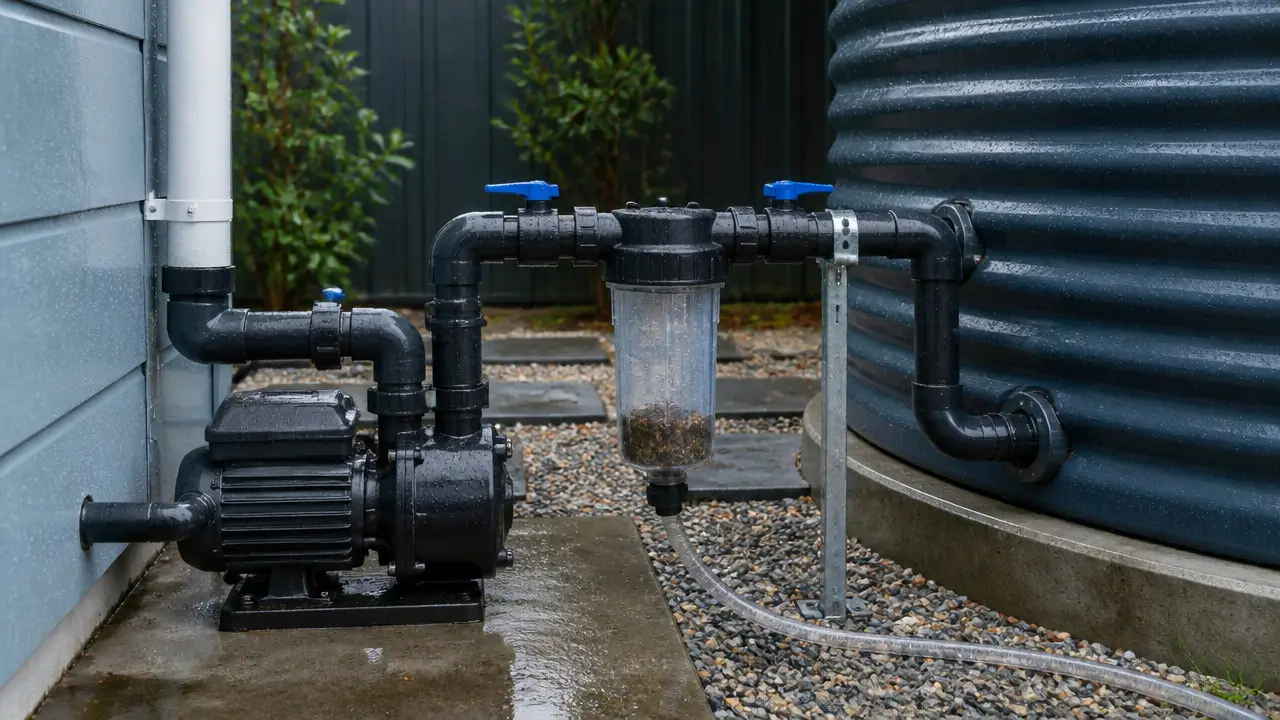
Can You Make a Sediment Buster for a Rainwater Tank?
A rainwater storage tank is a different system.
Most rain barrels, IBC totes, and atmospheric cisterns are not pressurized like household water heaters. Sediment usually settles on the floor of the tank.
For these systems, better sediment-control methods include:
- Keeping leaves and roof debris out before storage
- Using suitable prefiltration
- Using a first-flush device when appropriate
- Drawing water above the very bottom of the tank
- Providing a low-point drain or cleanout
- Periodically removing settled sludge
A first flush device diverts the first portion of roof runoff away from the storage tank. That first runoff often carries more dust and debris from the roof.
Do not enter a large cistern to clean it. Tanks can be confined spaces with dangerous air conditions and difficult exits.
Frequently Asked Questions
Can I make my own Sediment Buster with an air compressor?
A homemade compressed-air version is not recommended. A water heater is a pressurized hot-water vessel, and the fittings, valves, hose, venting, and air pressure all have to work safely together. Use a normal manufacturer-approved flushing method or a purpose-built tool instead.
Can I use a CO2 cartridge to loosen water-heater sediment?
Do not connect a CO2 cartridge to a homemade plumbing adapter. The commercial Sediment Buster uses a controlled compressed-gas system designed for that purpose. An improvised cartridge connection may expose the heater or fittings to unsafe pressure.
What can I use instead of compressed air?
Normal water flow is the simplest option. Many flushing procedures use the cold-water inlet to help move loose sediment while water exits through the drain hose. Follow the instructions for your specific heater.
Why does almost nothing come out of my water-heater drain?
Sediment may be blocking the drain valve. A kinked hose or partly closed valve can also restrict flow. If normal checks do not restore flow, stop rather than forcing pressure into the tank. A plumber may need to clear or replace the valve.
Will flushing remove all mineral scale?
No. Flushing can remove loose sediment, but hard mineral scale may remain attached to the tank or heating surfaces. A badly scaled heater may need professional service or replacement.
How often should I flush a tank water heater?
The schedule depends on the manufacturer, water quality, and use. Annual flushing is a common recommendation, while hard-water conditions may require more frequent maintenance. Check the owner's manual for your heater.
Is a Sediment Buster useful for a rainwater cistern?
The commercial water-heater tool is not intended as a general rainwater-tank cleaning device. Rainwater tanks usually benefit more from good prefiltration, a suitable tank drain or cleanout, and periodic removal of settled sludge.