As an affiliate, we may earn a commission from qualifying purchases. We get commissions for purchases made through links on this website from Amazon and other third parties.
A rain barrel leak is usually found around the spigot, overflow fitting, drain plug, connector, lid area, or a crack in the barrel itself. The easiest way to find it is to dry the outside of the barrel, add water in stages, and watch for the first place that becomes wet.
Do not try to lift or move a full rain barrel. Water is heavy, and even a small barrel can weigh hundreds of pounds when full.
Start With a Dry Barrel
Finding a slow leak is much harder when the barrel is already wet from rain, condensation, or overflow.
If possible, check the barrel during dry weather. Wipe the outside with a towel and remove standing water around the base.
Then look closely at:
- The spigot
- Drain plugs
- Overflow fittings
- Hose or barrel-to-barrel connectors
- Seams in molded plastic
- The bottom edge
- Areas around drilled holes
- Any place where the barrel has been hit, bent, or exposed to freezing
Sometimes the source is obvious once the surface is dry.
Make Sure It Is Actually a Leak
Water around a rain barrel does not always mean the barrel has a hole.
First, rule out other sources.
Check the downspout
Water may be running down the outside of the downspout or diverter and collecting beside the barrel.
Check the overflow
A full barrel may be overflowing normally. An overflow hose can also become disconnected, blocked, or pointed toward the barrel.
Check the lid
Rain can enter around the lid and run down the outside of the barrel. This can look like a leak near the top.
Check connected barrels
If several barrels are linked together, water from one connector may travel along a hose or barrel wall before dripping somewhere else.
Dry everything before testing again. This makes it easier to identify the true starting point.
Add Water a Little at a Time
If you cannot see the leak, fill the barrel in stages instead of filling it completely.
Start with only a small amount of water.
Wait several minutes and check around the bottom, drain fitting, and lower part of the barrel.
If everything stays dry, add more water.
Continue raising the water level in stages.
When the leak appears, compare its location with the water level inside the barrel. A crack or poorly sealed fitting is often close to the height where leaking begins.
For example, if the barrel stays dry until the water reaches the spigot, inspect the spigot and its seal before assuming the barrel itself is cracked.
Use a Dry Paper Towel to Find Slow Leaks
Very small leaks can be difficult to see.
Press a dry paper towel against suspected areas. A tiny amount of water will darken the paper and make a slow leak easier to detect.
Work from the bottom upward.
Pay special attention to the edges of fittings. Water can sometimes travel along the barrel surface, so the place where a drop falls is not always where the leak started.
Check the Spigot and Other Fittings
Fittings are common leak points because they pass through the barrel wall.
A fitting may leak because:
- A washer is missing
- A gasket is damaged
- A gasket is on the wrong side
- The fitting is loose
- The fitting is overtightened and distorted
- The hole is too large
- The hole has rough or damaged edges
- The barrel wall is curved too sharply for the fitting
- The fitting or barrel has cracked
A bulkhead fitting is a fitting designed to pass through the wall of a tank or barrel while creating a watertight seal. Many rain barrel spigots and connectors use a similar arrangement with washers or gaskets.
Dry the fitting completely. Then watch the point where the fitting meets the barrel.
If moisture first appears around that joint, the seal is more likely to be the problem than the barrel wall.
Check Around Drilled Holes
A leak near a spigot does not always come from the spigot itself.
Inspect the plastic around the hole.
Look for:
- Small cracks spreading outward
- An uneven hole
- Thin or damaged plastic
- A fitting pulling sideways on the barrel
- Stress caused by a heavy hose
A crack can begin at the edge of a drilled hole and slowly grow.
Do not simply keep tightening a leaking fitting. Overtightening can deform a gasket or crack the barrel.
Inspect the Bottom Carefully
Leaks near the bottom can be especially difficult to locate because water quickly spreads underneath the barrel.
If the barrel is empty, inspect the bottom before refilling it.
Look for:
- Scratches or punctures
- Cracks
- Worn spots
- Damage where the barrel rests on its stand
- Split seams
- Freeze damage
Do not crawl beneath, tilt, or lift a barrel while it contains water.
If you need to inspect underneath it, empty the barrel first.
Look for Freeze Damage
Understanding practical steps for stoping a barrel from leaking helps verify tank size based on expected use between rain events.
Water expands when it freezes. A barrel that was left full during freezing weather can develop cracks even if the damage is not immediately obvious.
Common places to inspect include:
- The bottom
- Molded corners
- Spigot openings
- Drain openings
- Connector holes
- Seams
A crack may remain almost invisible when the barrel is empty but open slightly as water pressure increases.
If the leak appeared after winter, freeze damage should be one of the first possibilities you check.
Check for Cracks With the Barrel Empty
After draining the barrel, clean and dry the suspected area.
Use good lighting and inspect both sides of the barrel wall when the inside is safely accessible from the open top.
Do not enter a tank or cistern. Larger water-storage tanks can create confined-space hazards and should not be entered as part of a DIY leak inspection.
For a normal open rain barrel, look for fine lines or splits in the plastic. Gently changing the viewing angle can make a hairline crack easier to see.
Avoid aggressively bending the plastic. That can make an existing crack worse.
Mark the Leak Before Draining the Barrel
Once you locate a leak, mark the area before emptying the barrel.
A piece of tape placed beside the leak works well. You can also make a removable mark nearby.
Do not rely on remembering the exact location. A tiny crack that is easy to see while water is dripping may become almost invisible after the barrel dries.
Decide Whether the Fitting or Barrel Needs Repair
The correct repair depends on the source.
Leaking fitting
A fitting may only need to be removed, inspected, cleaned, and installed correctly with a suitable gasket or seal.
The replacement fitting must match the hole size and barrel wall. A fitting that is too small for the existing hole may never seal reliably.
Cracked barrel
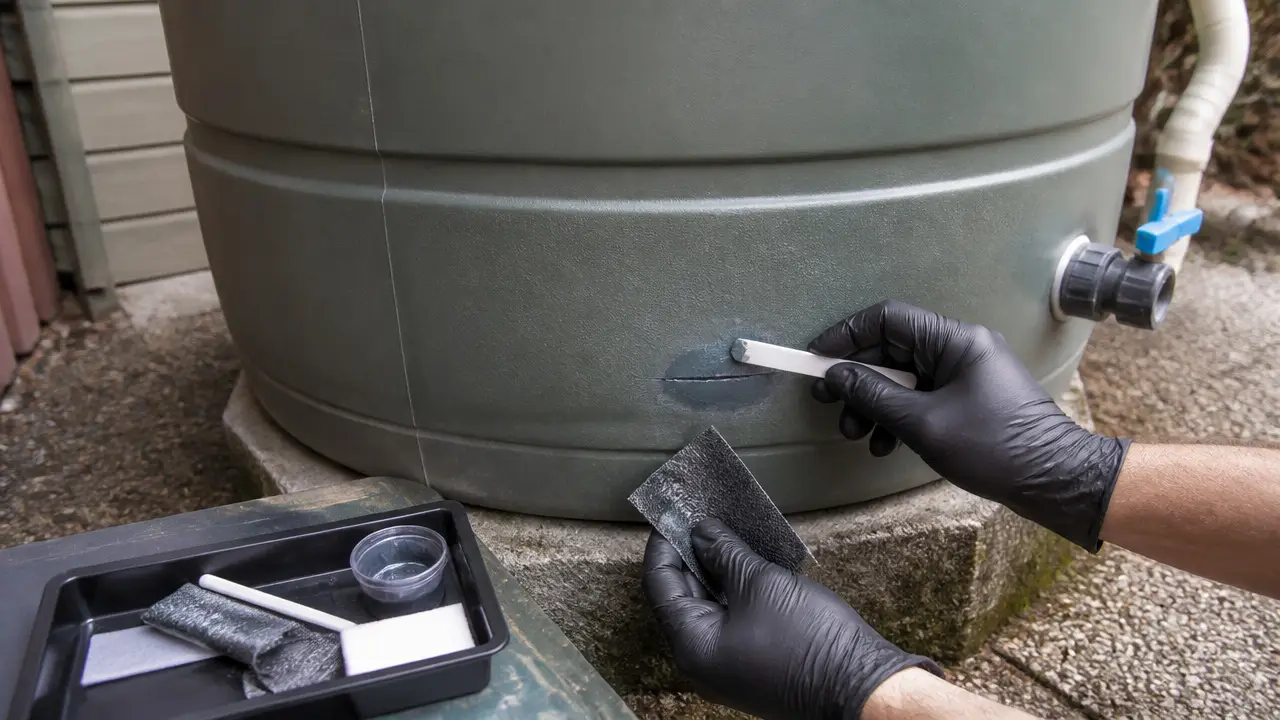
Small cracks in some plastic barrels can sometimes be repaired, but the repair method depends on the barrel material and the location of the damage.
Not all sealants bond well to common rain barrel plastics. A patch that sticks initially may fail when the barrel flexes, fills, heats in the sun, or freezes.
Damaged structural area
Replacement may be safer than repair when a barrel has:
- A large split
- Serious bottom damage
- Several cracks
- A badly distorted wall
- Damage around a load-bearing area or fitting that keeps spreading
A rain barrel holds a significant amount of weight. A repair should not leave the barrel likely to fail suddenly when full.
Test the Repair Before Putting the Barrel Back Into Service
After making a repair, test the barrel gradually.
Add a small amount of water and inspect the repaired area.
If it stays dry, raise the water level in stages until the water is above the repair.
Check again after the barrel has been sitting for a while.
Also inspect nearby fittings. Moving or repairing one fitting can sometimes put stress on another part of the barrel.
For barrels connected to irrigation or additional storage, reconnect hoses only after you know the barrel itself is holding water.
Prevent Future Rain Barrel Leaks
A few simple habits can reduce the chance of another leak.
Keep the barrel on a flat, stable base that can support its full weight. Avoid allowing hoses to pull sideways on spigots and connectors.
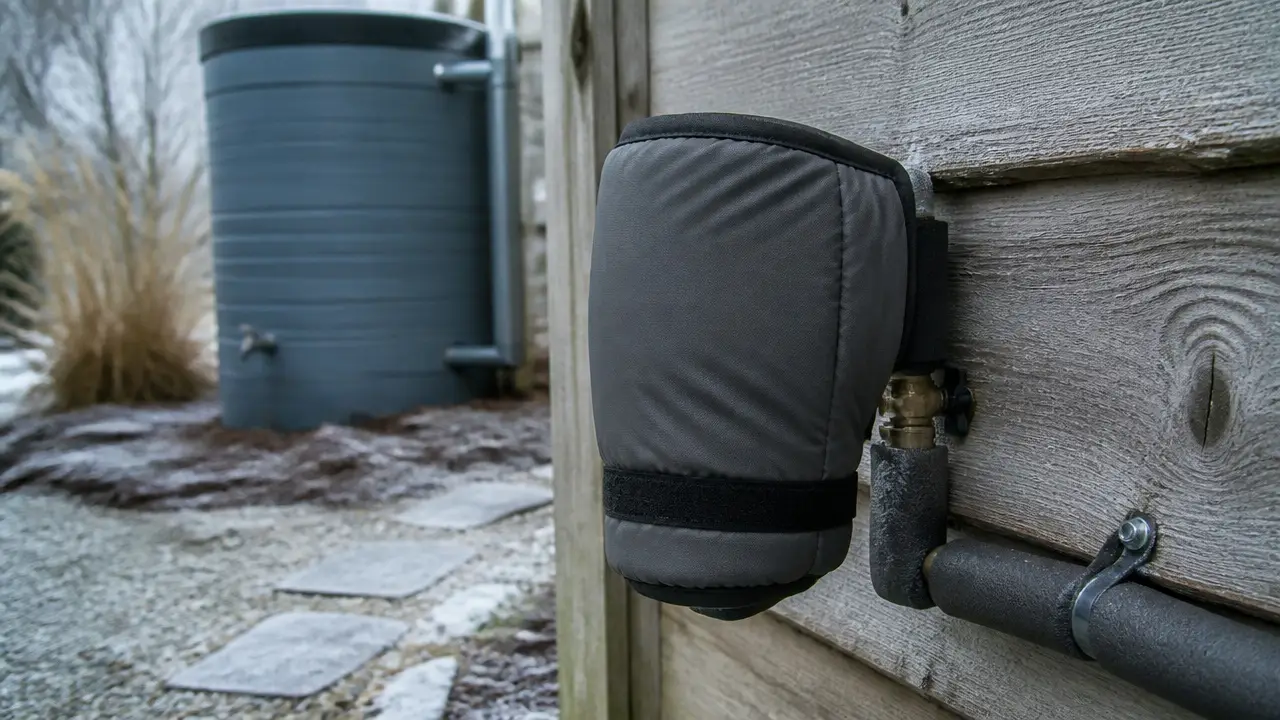
Before freezing weather, follow the winterizing method appropriate for your barrel and climate. Water trapped in a barrel, valve, hose, or fitting can freeze and cause damage.
Inspect fittings periodically for loose parts, damaged gaskets, and cracks around drilled openings.
Also keep the overflow working properly. An effective overflow route helps prevent water from constantly spilling down the barrel and making real leaks harder to notice.
Frequently Asked Questions
Where do rain barrels usually leak?
Common leak points include the spigot, drain plug, overflow fitting, barrel connectors, drilled holes, bottom, and cracks caused by impact or freezing.
How can I find a very small rain barrel leak?
Dry the barrel completely and fill it in stages. Press a dry paper towel against suspected areas. Even a small amount of moisture will usually show clearly on the paper.
Why is my rain barrel leaking around the spigot?
The spigot may have a loose or damaged gasket, an incorrectly installed washer, a poorly sized hole, or a crack around the opening. Do not assume tightening it further will solve the problem.
Can water appear below the actual leak?
Yes. Water can travel down the barrel wall or along a fitting before dripping. Trace the wet area upward to find where moisture first appears.
Can freezing crack a rain barrel?
Yes. Water expands as it freezes and can damage the barrel, fittings, valves, or connecting hoses. Cracks may be especially noticeable around the bottom and drilled openings.
Should I move the barrel to look underneath it?
Only after it has been emptied. A full rain barrel is very heavy and should not be tilted or lifted for inspection.
How do I know whether to repair or replace a leaking barrel?
A simple fitting leak may be repairable. Large cracks, spreading damage, severe distortion, or damage in an important structural area can make replacement the safer choice.