As an affiliate, we may earn a commission from qualifying purchases. We get commissions for purchases made through links on this website from Amazon and other third parties.
The best solution for fixing a water tank leak depends on where the leak is and what the tank is made from. A loose fitting may only need a new gasket. A small crack in a plastic tank may need a compatible plastic repair. A leaking concrete tank may need a cement-based repair system. A badly split, bulging, corroded, or unstable tank may need professional repair or replacement.
The key is to fix the cause of the leak, not just cover the wet spot with sealant.
Start by Finding the Exact Source of the Leak
Water can travel along the side or bottom of a tank before dripping, so the visible wet area may not be the actual leak.
Check these common areas first:
- Outlet and inlet fittings
- Bulkhead fittings
- Valves and threaded connections
- Overflow fittings
- Tank seams
- Small cracks or punctures
- Tank base and lower walls
- Pump connections near the tank
A bulkhead fitting is a fitting that passes through the tank wall and seals against it with a gasket.
Dry the outside of the tank and watch where moisture first appears. If possible, lower the water level below the suspected leak before making a repair.
Do not enter a large tank or cistern to inspect it unless the tank is designed for safe entry and proper confined-space procedures are being followed. Tank interiors can present serious hazards.
The Best Repair for a Leaking Tank Fitting
Fittings are one of the most common sources of tank leaks.
If water is coming from around an outlet, inlet, or overflow fitting, inspect the:
- Gasket
- Nut
- Threads
- Tank wall around the opening
- Pipe connected to the fitting
A damaged or hardened gasket is often better replaced than covered with sealant.
Check for Pipe Stress
A fitting can leak because the connected pipe is pulling sideways on it. Heavy pipe, poor support, or movement from a pump can place stress on the tank wall.
Support the plumbing so the tank fitting is not carrying the weight of the pipe.
Do Not Simply Keep Tightening the Fitting
Overtightening can:
- Crush the gasket
- Distort the tank wall
- Damage plastic threads
- Crack the area around the opening
The gasket should normally make the seal. Thread sealant or thread tape may be appropriate on certain threaded pipe connections, but it is not a substitute for a damaged tank gasket.
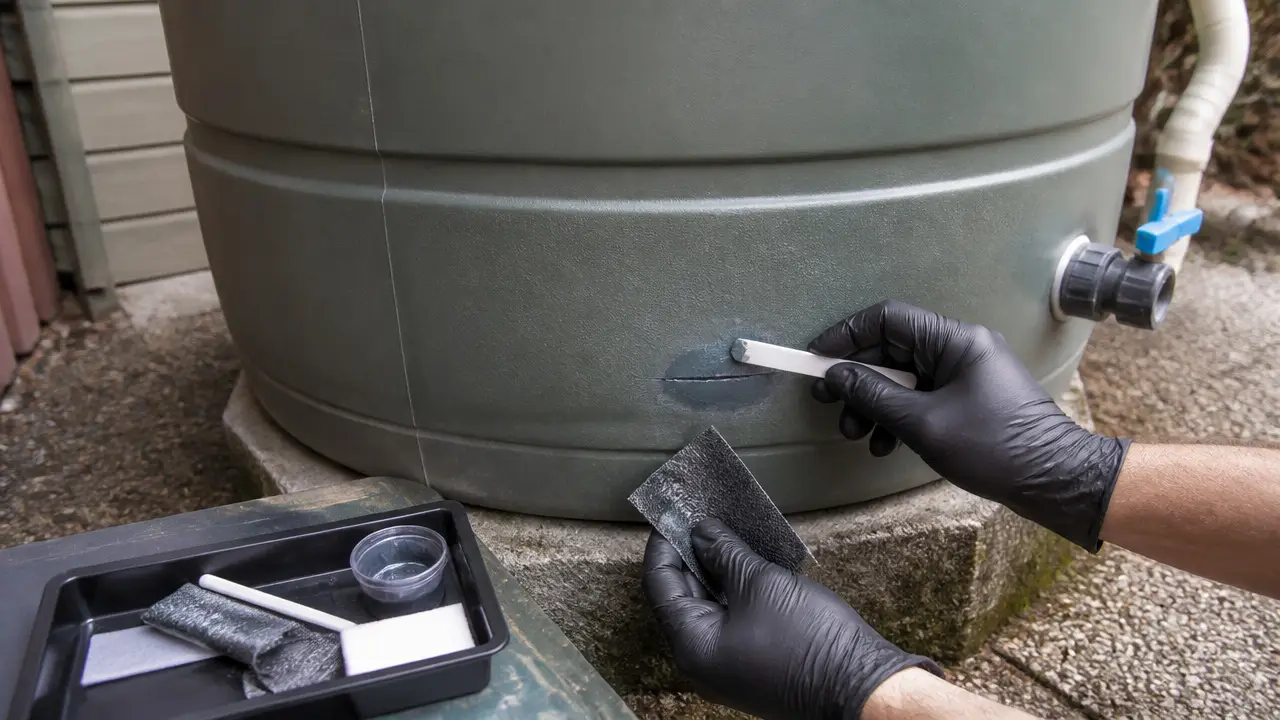
The Best Solution for a Cracked Plastic Water Tank
For a polyethylene or similar plastic tank, the most reliable repair is usually a method that is specifically compatible with that plastic.
Many common glues and general-purpose sealants do not bond well to polyethylene.
Possible repair methods include:
- Plastic welding
- A manufacturer-approved repair system
- Replacing a damaged fitting or fitting area
- Replacing the tank when the damage is structural
Plastic Welding
Plastic welding uses compatible plastic filler material and heat to join damaged plastic.
It can work well on some cracks when performed correctly, especially when the repair material matches the tank material.
However, a crack may return if the underlying cause remains.
Common causes include:
- Poor tank support
- Uneven ground
- Excess pipe stress
- Impact damage
- Aging material
- Tank movement
- Freeze damage
Large cracks, cracks near heavily loaded fittings, and cracks in distorted tank walls deserve extra caution.
When a Plastic Tank Should Be Replaced
A patch is not always the safest long-term choice.
Replacement may make more sense if the tank has:
- Long or spreading cracks
- Several cracks
- Severe UV damage
- Brittle plastic
- Major wall distortion
- A damaged base
- A split seam
- Repeated leaks in repaired areas
A full tank carries a large amount of weight. One gallon of water weighs about 8.34 pounds, or about 3.78 kilograms per US gallon.
That means even a moderate-size tank can place thousands of pounds of load on its base.
A structural failure can release a large amount of water very quickly.
The Best Solution for a Leaking Concrete Tank
Concrete tanks can leak through:
- Cracks
- Construction joints
- Pipe penetrations
- Porous concrete
- Failed internal coatings
Small, stable cracks may be repairable with a suitable cement-based, hydraulic, or other water-retaining repair material.
But first determine whether the crack is still moving.
A crack caused by settlement or structural movement may reopen after a surface repair.
Larger cracks, recurring cracks, and major water loss should be assessed by someone experienced with concrete water tanks.
The Best Solution for a Metal Water Tank
Metal tanks may leak because of:
- Corrosion
- Failed seams
- Damaged coatings
- Punctures
- Loose fittings
A small isolated defect may sometimes be repaired, but widespread corrosion is different.
If the metal around the leak is thin, rusty, or weakened, patching one hole may only reveal another weak area later.
Inspect more than the visible hole before deciding whether repair makes sense.
Can You Use Epoxy to Fix a Water Tank?
Sometimes, but not every epoxy works with every tank.
Epoxy can bond well to materials such as certain metals, fiberglass, and properly prepared concrete. It may perform poorly on plastics such as polyethylene unless the product is specifically designed for that surface.
Before using epoxy, confirm:
- The tank material
- Whether the epoxy bonds to that material
- Whether the surface can be properly prepared
- Whether the product can remain submerged
- Whether it is suitable for the intended water use
Do not assume that a product described as "waterproof" is automatically appropriate for a drinking-water tank.
Can Silicone Sealant Stop a Tank Leak?
Silicone can be useful around some fittings and joints, but it is usually not the best answer for a structural tank crack.
It also does not bond equally well to every plastic.
Factor in a suitable glue for plastic water tanks to understand cleaning access that supports sediment and odor management.
Using a thick layer of sealant over a moving crack may stop dripping for a short time without fixing the damaged tank wall.
Treat sealant as part of a compatible repair system, not as a universal tank patch.
What About Waterproof Tape or Emergency Patches?
Waterproof tapes and temporary patches may slow a small leak until a proper repair can be made.
They should not be treated as permanent structural repairs unless the manufacturer specifically approves that use for your tank material and operating conditions.
Pressure, tank movement, dirt, moisture, sunlight, and temperature changes can all weaken temporary patches.
Fix the Reason the Tank Started Leaking
This step is easy to miss.
A good repair can fail again if the original problem remains.
Check the Tank Base
The base should support the tank as required by the tank manufacturer.
Problems can develop when a tank sits on:
- Uneven ground
- Sharp stones
- Settling soil
- Unsupported edges
- An unsuitable platform
A tank that twists or settles unevenly can develop cracks around the base and fittings.
Support Connected Pipes
Rigid plumbing should not pull on tank outlets.
Provide suitable pipe support and allow for movement where needed.
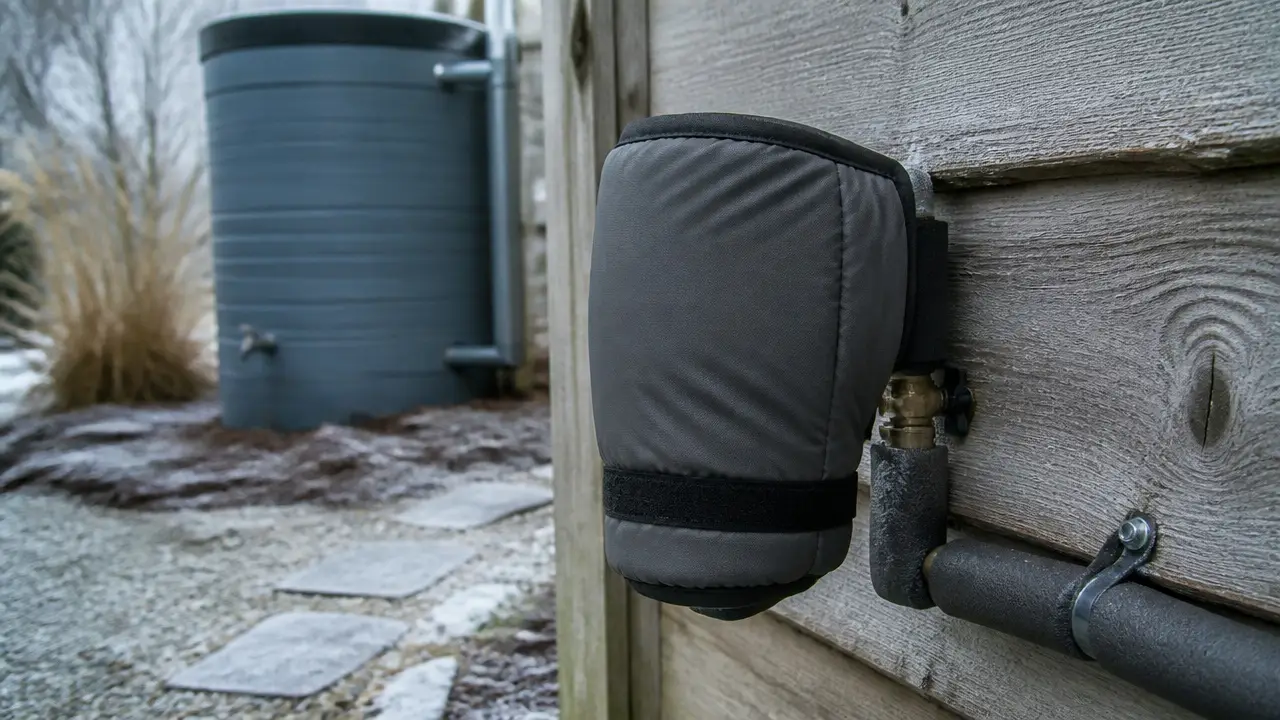
Protect the Tank From Freezing
Water expands when it freezes.
In freezing climates, trapped water in fittings, pipes, valves, pumps, or tank sections can cause cracks.
Freeze protection must cover the whole water system, not just the tank.
Control Overflow
An overflowing tank can erode the ground around its foundation.
Route overflow water away from the tank base so it does not undermine the support area.
How to Repair a Small Tank Leak Safely
For a simple non-structural leak, a basic process is:
- Identify the exact leak location.
- Determine the tank material.
- Lower the water below the repair area when possible.
- Clean and dry the repair surface as required.
- Correct loose plumbing or support problems.
- Use a repair method made for the tank material.
- Allow the repair to cure for the required time.
- Refill the tank gradually.
- Check the repair while the water level rises.
- Inspect it again after the tank has been under normal load.
Do not skip curing time. A repair material may feel dry before it has reached its required strength.
Be More Careful With Drinking-Water Tanks
Potable water means water intended for drinking and other uses that require drinking-water quality.
A material that works on a garden-water tank is not automatically suitable for a potable-water system.
For a tank used for drinking water, verify that repair materials are specifically suitable for the intended potable-water application and follow applicable local requirements.
The repair itself also does not establish that the stored water is safe to drink.
Drinking-water safety depends on the whole system, including:
- Collection surface
- Debris removal
- Tank cleanliness
- Treatment
- Plumbing
- Maintenance
- Water-quality testing
If a repair introduces debris, chemicals, dirty tools, or contaminated water into the tank, the system may need cleaning or other corrective work before returning to drinking-water service.
When to Call a Professional
Stop treating the problem as a simple DIY sealant job if you find:
- A large structural crack
- A tank that is bulging or leaning
- Major foundation movement
- A split tank seam
- Severe corrosion
- Repeated cracking
- Damage around a heavily loaded fitting
- A leak below a large full cistern
- Electrical equipment in the wet area
- A repair that would require entering the tank
Large tanks store considerable weight and energy. A sudden failure can cause flooding, property damage, and injury.
Which Repair Method Is Best?
The general rule is simple:
| Leak type | Usually the best starting solution |
|---|---|
| Loose fitting | Inspect gasket, fitting, and pipe support |
| Damaged gasket | Replace the correct gasket |
| Threaded pipe leak | Reassemble with the correct thread-sealing method |
| Small plastic crack | Compatible plastic repair or plastic welding |
| Major plastic crack | Structural assessment or tank replacement |
| Small concrete crack | Compatible water-retaining concrete repair |
| Moving concrete crack | Correct structural cause before sealing |
| Small metal defect | Compatible metal repair after checking corrosion |
| Widespread corrosion | Consider tank replacement |
| Temporary emergency leak | Temporary patch followed by permanent repair |
The best repair is the one that matches both the tank material and the cause of the leak.
Frequently Asked Questions
Can I repair a water tank without emptying it?
Sometimes you can lower the water only below the leak. However, many repair materials need a clean and dry surface. Follow the requirements of the repair method you are using. A full tank may also place stress on a damaged area, so structural cracks need extra caution.
What is the best sealant for a plastic water tank?
There is no single best sealant for every plastic tank. First identify the plastic. Polyethylene tanks can be difficult for ordinary adhesives to bond to, so plastic welding or a repair system made specifically for the tank material may be more reliable.
Why does my tank keep leaking around the outlet?
Common causes include a damaged gasket, overtightening, a cracked fitting, an uneven tank wall, or unsupported pipe pulling on the outlet. Fixing the plumbing stress may be necessary before replacing the seal.
Can a cracked rainwater tank be repaired permanently?
Some small cracks can be repaired successfully, especially when the correct repair method is used and the cause of the crack is corrected. Large, spreading, repeated, or structural cracks may make replacement the safer choice.
Can I use waterproof silicone inside a drinking-water tank?
Only use a material that is specifically suitable for the tank material and intended potable-water application. A general waterproof silicone should not be assumed safe or compatible just because it resists water.
Why did my tank crack near the bottom?
Possible causes include uneven support, settlement, impact, freeze damage, excessive stress from plumbing, or deterioration of the tank material. Because the lower part of the tank carries significant water pressure, cracks there should be inspected carefully.
Is it safe to keep a leaking tank full?
A small fitting drip is different from a structural crack. If the tank wall, base, or seam appears damaged, reduce the load when this can be done safely and keep people away from the possible failure area. Large or unstable tanks should be assessed by a qualified professional.